A Tilt-Shift effect on your image gives it the impression that the subject is actually a scale model. It does this by dramatically simulating a shallow Depth of Field along with an increase in the color saturation.
To get the best effect, it’s advisable to use an image that is looking down on your subject. An image such as a busy street scene viewed from a multi-story building or where the camera is above the horizon line, works perfectly. Alternatively, you can also download the image I’ve used in this tutorial.
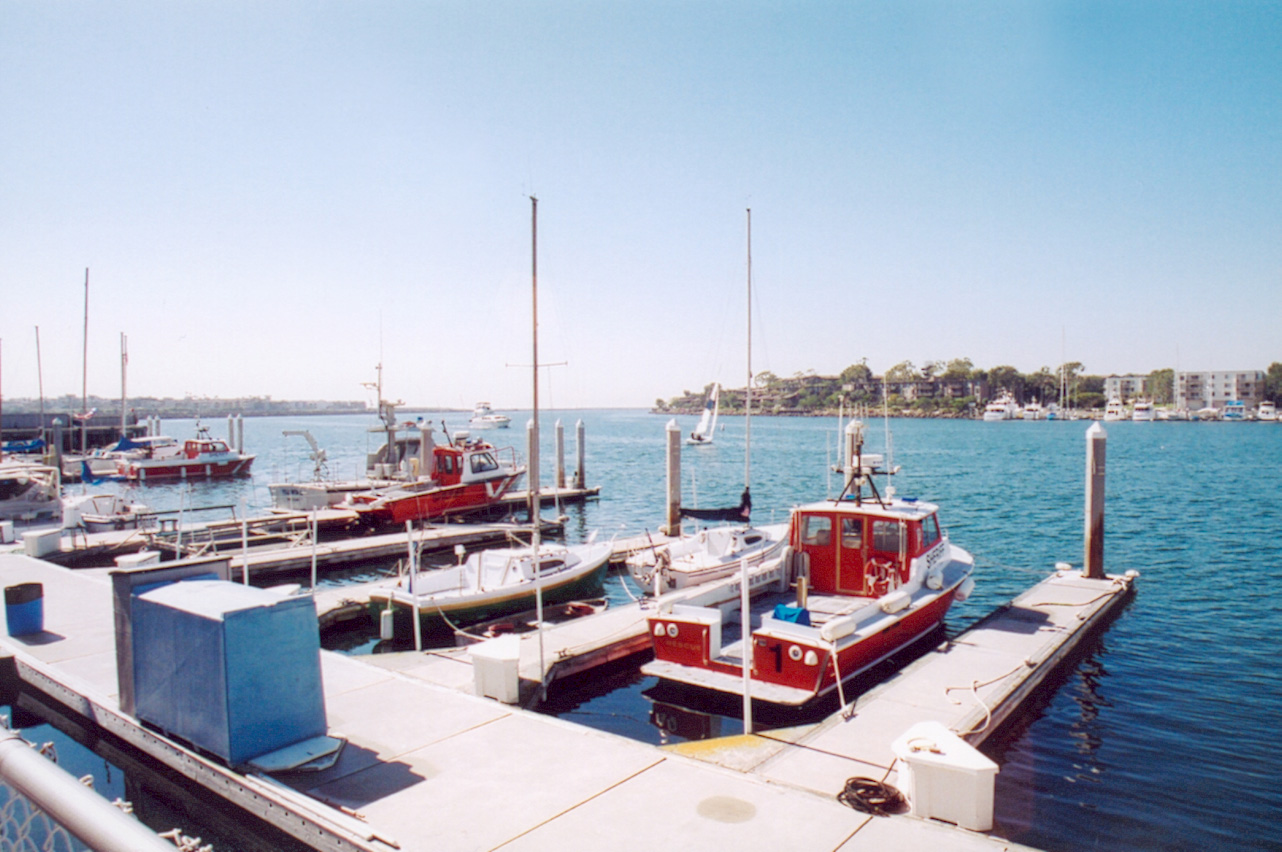
Step 1: Increasing the color saturation
We’ll start off by increasing the color saturation. This makes the effect more noticeable.
After opening your image, create a new Vibrance Adjustment Layer. You can do this by selecting the half-filled circle at the bottom of your Layers palette or from the Layer > New Adjustment Layer > Vibrance… menu option. The amount you increase the Vibrance & Saturation will depend on your particular image. For this image though, I’ve increased both to +40 to really exaggerate the colors.

Step 2: Adjusting the curves
Next, add a new Curves adjustment layer. Again, you can select this from the half-filled circle at the bottom of the Layers palette or from the Layer > New Adjustment Layer > Curves… menu option. Increase the highlights and decrease the shadows slightly to provide further contrast between the colors. The amount of adjustment required in the curves dialog may vary depending on the particular image used.

Step 3: Simulate the depth of field
The main effect in a Tilt-Shift image is the shallow depth of field. To simulate this, we first need to blur the image. Select your background layer (or the layer that has your image) and press Ctrl-J (Command-J on Mac) to duplicate this layer. If it’s not already, select this new duplicated layer and then select Filter > Blur > Gaussian blur… menu option. Blur your image with a Radius of 4.5 pixels.

With your blurred layer still selected, add a new Layer Mask by selecting the Add Layer Mask icon at the bottom of the Layers palette or by selecting the Layer > Layer Mask > Reveal All menu option. Make sure your Layer mask (not the image) is selected by clicking on it. Select the Gradient Tool and in the options palette, select Reflected Gradient (4th Gradient icon from the left). Also, ensure that the ‘Reverse' checkbox is unticked. Next, drag the gradient vertically over a small portion of the image. To make sure it’s perfectly vertical, hold down the Shift key while you drag. What you are doing here is creating a mask on the blurred image so that the original image sitting on the layer below, can be seen. Since we only want to simulate a narrow Depth of Field, the gradient should be quite small. It may take a couple of goes to get the correct effect. Once you’ve added your gradient to the Layer mask, you should find that the area you dragged the cursor over will no longer be blurred.

Step 4: Fine tune your image
To ‘fine tune’ your gradient, click the small “link” icon between the image and the Layer mask (in the Layers palette) to turn it off. Making sure your Layer mask is still selected, select the Move Tool and use the Up & Down arrow keys to fine tune the position of your mask. The subject matter of your image will influence where best to position the mask to get the best effect.

Step 5: Grab a coffee
Once you’re happy with the placement of your mask, your image is complete. You can now sit back and contemplate what you’re going to “miniaturise” next 😉

I’ve also published this tutorial on The Web Squeeze.

If you found this tutorial interesting I'd love to hear so please leave a comment. Thanks. 🙂